|
You'll undertake a lot of quests in Dragon's Dogma 2. Some are fairly straightforward, while others will take you to far-flung regions. One, in particular, has you looking for rare tomes that two people need. Here's our guide on how to find all Sorcerer's Appraisal and Spellbound grimoires in Dragon's Dogma 2. How to find all Sorcerer's Appraisal and Spellbound grimoires Dragon's Dogma 2The Dragon's Dogma 2 grimoires for the Spellbound and Sorcerer's Appraisal quests are found in multiple locations in the Vernworth region. These tomes are: - Fulminous Shield
- Howling Blizzard
- Nation's Death Knell
- Towering Earth
- Let There Be Light
These items are extremely rare, and two NPCs need them. There's Trysha who lives in Eini's Home, and Myrddin who lives in the Checkpoint Rest Town. If these tomes are hard to find, then you might be wondering which character should have them? Well, the answer is: both. To be perfectly clear: Don't hand out any tome to any character as soon as you're able to. We'll tell you when it's the right time to do that so you can get both sets of rewards.
Locations of Trysha, Myrddin, and the grimoires
This is a map of the Vernworth region. As you can see, you'll explore almost the entire landscape just to look for the Dragon's Dogma 2 grimoires for Spellbound and Sorcerer's Appraisal.
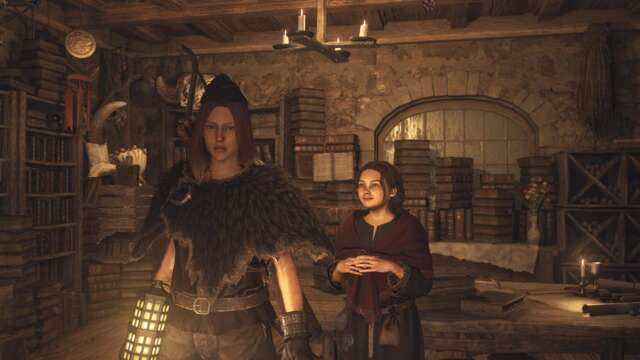
Where to find Trysha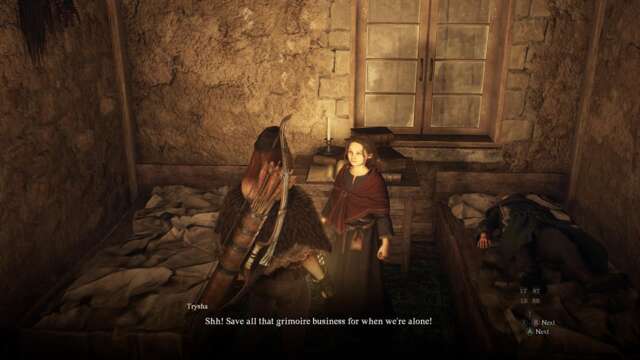
Trysha is found in Eini's Home, which is due north of the ruined village of Melve. You'll likely stumble upon their abode as you explore the wilderness during the early stages of the campaign. Trysha's grandparents (Eini and Eino) watch over her, and she's not allowed to learn magic at all. However, if you wait for her grandparents to leave in the morning, she'll ask you in secret to find grimoires for her. This starts the Dragon's Dogma 2 Spellbound quest. Tip: If Trysha's grandparents aren't leaving the house, you can carry them on your shoulder and drop them outside. As long as they're not near Trysha, she should be able to talk to you about the grimoires.
Where to find Myrddin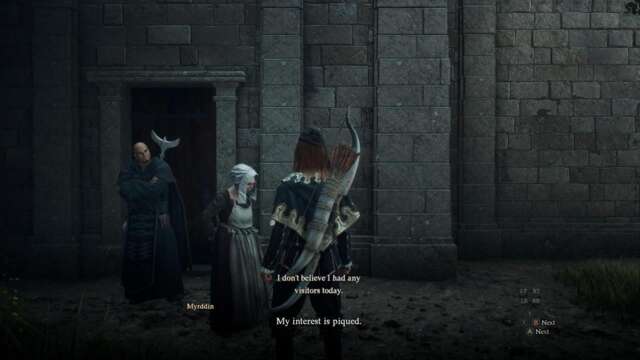
Myrddin, meanwhile, is found all the way in the Checkpoint Rest Town. You'll visit this location several hours into the campaign. As such, you don't need to worry about it for now. Once you do arrive at this location, head to the sloping path to the east until you see a manor. Myrddin won't actually let you inside if you look like a commoner. The only way to gain entry is if you're wearing the Courtly Tunic and Courtly Breeches, which you acquire as part of the Stolen Throne quest in Vernworth. Once you're able to talk to Myrddin, you'll get the Sorcerer's Appraisal quest. In any case, let's start talking about the grimoires themselves.
Grimoire #1: Fulminous Shield
Location: Melve - This tome is sold by Dudley, a traveling merchant in Melve. You can buy it for 5,000 gold.
Grimoire #2: Towering Earth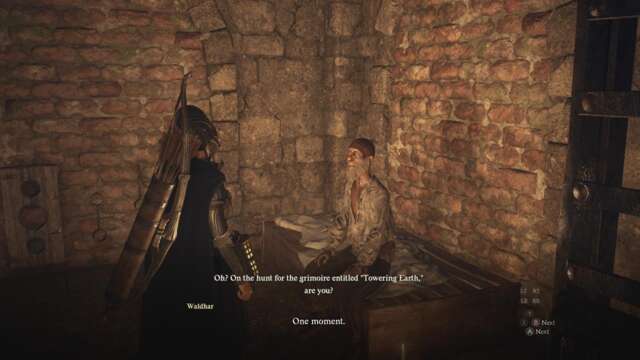
Location: Vernworth - Towering Earth can be yours if you talk to Waldhar, a nobleman who's been imprisoned in the Vernworth Dungeon. Meeting him is actually part of a main quest called The Caged Magistrate. You can refer to our guide which discusses the quest in detail.
Grimoires #3 and 4: Howling Blizzard and Nation's Death Knell
Location: Waterfall Cave - This dungeon has two entrances to the east of Borderwatch Outpost. Because it's an early-game area, you might make the mistake of going there so soon. Well, be forewarned that there's actually a Chimera guarding the cavern. As for the tomes, you'll find both Howling Blizzard and Nation's Death Knell inside a chest on the second level. However, once you open the chest, a Wight (i.e. lich) will spawn. Due to the challenge, we recommend leveling up and upgrading your gear a bit just to survive the battles ahead.
Alternate location: Howling Blizzard (avoid)
Location: Nameless Village - If you go to the Nameless Village as part of a main quest, you'll meet a woman named Wendy. She's willing to trade her Howling Blizzard tome for the Fulminous Shield. Don't bother doing this at all since you can find Howling Blizzard in the aforementioned Waterfall Cave already. Likewise, you'll probably have a hard time searching for an extra Fulminous Shield copy.
Alternate location: Nation's Death Knell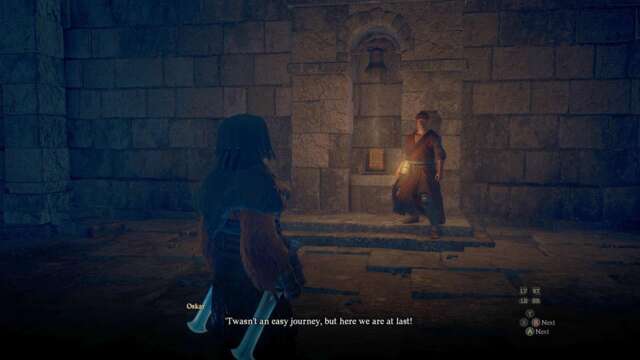
Location: Ancient Battleground (Cenotaph) - Another copy of the Nation's Death Knell can be found in the Cenotaph, the ruins of a castle on a hill near the Ancient Battleground. You'll go to this location as part of a side quest called Tolled to Rest. While the location itself is off the beaten path, you might as well visit it since the tunnel system past that leads to the Mountain Shrine. That's where you can solve the Sphinx Riddles.
Grimoire #5: Let There Be Light
Location: Checkpoint Rest Town - The fifth and final grimoire in Dragon's Dogma 2 is Let There Be Light in the Checkpoint Rest Town. Funnily enough, it's actually inside Myrddin's room on the second floor of his manor. Here's the kicker: If you enter through the front door, Myrddin will follow you upstairs. He'll attack you if he sees you picking up his books. As such, the goal here is to climb atop the ruined wall outside his manor. Then, jump across the gap to reach his balcony. You should be able to grab the tome without getting spotted.
Important: Create forgeries of the grimoires before you give them to NPCs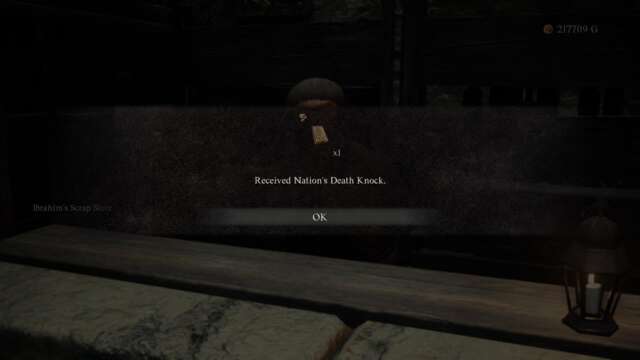
Now that you have all five grimoires for the Spellbound and Sorcerer's Appraisal in Dragon's Dogma 2, you might be wondering what you should do next? Well, the answer is: create forgeries. You can do this by going to Ibrahim's Scrap Shop, which is also in Checkpoint Rest Town. Each forged tome costs 6,000 gold, so you should be ready to spend 30,000 gold for this whole step. While a fake copy is being created, simply sit on the nearby bench and press the "Doze Off" prompt several times until a full day has passed. Return to Ibarhim afterward to obtain the original and the fake copy.
Sorcerer's Appraisal: Give the fake copies to Myrddin
Revisit Myrddin's manor and give him the fake copies--be sure to check the titles of the books to know which ones are dupes. Myrddin will reward you with 11,000 gold, the Ares Morpho Robe, and the Myrddin's Chronicle scroll. This teaches the Maelstrom ultimate spell for Sorcerers.
Spellbound: Give the original copies to Trysha
Take the journey back to Eini's Home north of Melve and speak with Trysha (make sure her guardians aren't around). Give her the authentic copies, and she'll thank you for your effort. You'll receive the Turquoise Ring, which is proof of your friendship with her. Now, here's what you need to do next: - The quest panel says that you should see how Trysha's doing in a few days' time.
- Head up the sloping path to the east of Eini's Home. Interact with the campsite so you can wait for a couple of days to pass (wait until morning).
- If things turn out fine, you should see a short scene for the next stage of the quest.
- But what if nothing's happening? What if Trysha just has generic dialogue?
Potential issue with the quest: A dead NPC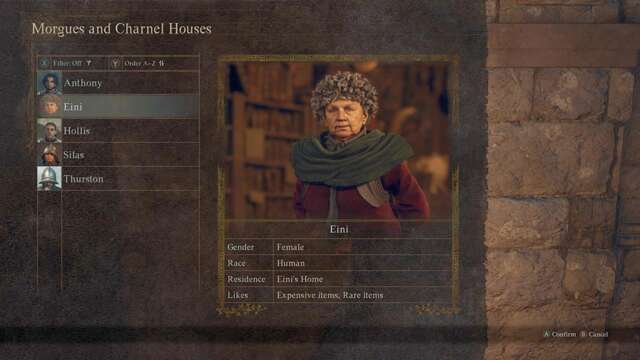
We encountered a particular issue while doing the Dragon's Dogma 2 Spellbound quest. Basically, Trysha was only telling us about her training, and there was nothing new each day that we visited. We realized why this was the case: her grandmother, Eini, was dead. She probably got killed by wolves while she was walking outside. As mentioned in our pawn/NPC revival guide, you need a Waystone to revive a dead NPC. Since we no longer remember where her body was, we just visited the morgue in Vernworth. We spoke with the mortician and we selected her from the list of deceased characters. We then went to her coffin and used a Waystone to revive her.
Spellbound completion and rewards
If all goes according to plan, when you visit Trysha, she'll be casting magic outside the house but she's unable to control all the energies. Both Eini and Eino can't stop her, and you can't damage her either. The goal now is to simply "wait for her to exhaust her magical reserves." Basically, just avoid all the spells that she casts and run after her to make her teleport. Eventually, Trysha will get tired. Walk up to her and press the grab button. Eini will tell you that she needs a day of rest, so just camp until the next morning. When you return to the house, Trysha will be well enough. You'll receive the following rewards: - Trysha will give you the Conjurer's Jottings, a scroll that teaches the Meteoron ultimate spell for Sorcerers.
- Eini will give you the Enchanter's Almanac, which teaches the Celestial Paean spell for Mages.
That's it: that's everything you need to know about the Spellbound and Sorcerer's Appraisal grimoires in Dragon's Dogma 2. You found all the tomes, completed both quests, and got both sets of rewards. You've got several ultimate spells now thanks to these powerful casters. If you want to learn more about other special abilities, you can check our Maister's Teachings guide. Fierce foes and loyal companions await you as you journey onward in Dragon's Dogma 2. For other tips and strategies, you can visit our guides hub.
|