|
After a year of rumor and innuendo, Lego Fortnite has arrived and injected a major dose of survival-crafting into Fortnite. As is the case with all games like this, there's a meaningful learning curve involved in getting started. Yes, there's a tutorial, but it's also an open-world sandbox game in which it's very easy to get distracted by some new thing and lose track of what you were supposed to be doing. While questions like "where do I get wooden planks?" and other specific questions about where to find resources will come up after you've been playing for a while, the struggle in the really early goings is just in understanding Lego Fortnite's fundamental logic. In other words: How does this thing work? Every game has its own unique answers to that question, and it usually requires spending time with it to figure them out. To help myself find the many answers to that question, I've been making some observations over the course of starting about a half-dozen different worlds with lots of different settings configurations. And now I'll share these sort of low-level observations with the rest of you. Use what I've discovered as your own Lego Fortnite tips as you embark on your adventures with bricks and minifigs.
There's no penalty for making it easy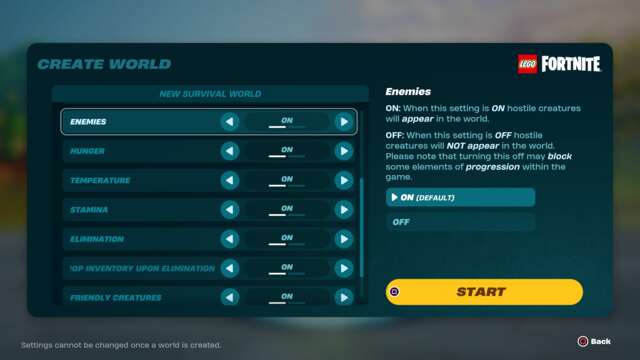
When you create a world, it defaults to survival mode with all options turned on. And, well, that's actually kinda hardcore if you're not playing with a group. If you've been playing this kind of game for a long time already you'll probably be just fine because all that stuff is probably part of the reason you're here. That said, there's no penalty whatsoever to making it easier when you're setting up your world. Skipping out on the temperature or hunger aspects, for example, can streamline the experience in a big way, or if you're just in if for the vibes you can make it so players are unable to die. The game will not penalize you in any way for doing this, and there are no bonuses for doing things the hard way. You are free to tailor the experience however is most comfortable to you. Just keep in mind that if you turn creatures off it could mess with your progression since you'll be missing crafting ingredients, and you can't change your world settings after you've created it. Honestly, though, that's just another reason to err on the side of less potential frustration.
How Battle Pass XP works in Lego Fortnite
Lego Fortnite supplies you with about 30k in battle pass XP for every 15 minutes you spend playing it, and while there's a daily cap on how much you can earn, that passive XP makes Lego Fortnite the premiere destination for AFK battle pass progression because it doesn't require any prep work at all, and you don't have to click on items all over the place like folks love making you do on Creative maps. Just play Lego and get XP at a predictable rate. Beautiful.
Put your villagers to work
Every time you level up your village, you can recruit a new NPC to live in it. And every time you get a new character to live in it, you can give that person a job. The first jobs available will be gathering resources and refining materials, which are extremely important--the resource NPC will give you an assortment of items beyond basic wood and granite that will come in handy, and the refining NPC will supply you with things like wood planks without using any of your resources to do so. The NPCs do these jobs in realtime in-game though, which means AFKing for XP has the practical side benefit of essentially letting you farm your workers for resources.
Snowberries and spicy peppers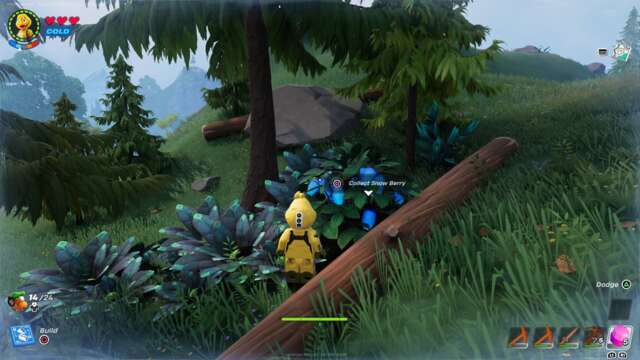
In the very early goings, you won't be able to craft equipment or do much of any normal kind of stuff to protect yourself from the environment--like wearing a coat. But you can still protect yourself from the elements by eating snowberries for heat resistance or spicy peppers for cold resistance. Unfortunately these are found in the opposite biomes from where you need them--snowberries show up in cold regions and spicy peppers grow in hot areas. But if you're in the right place they'll be plentiful and easy to find. And once you craft a grill, you can cook them into food items that give you longer protection than eating them raw.
You don't really need to sleep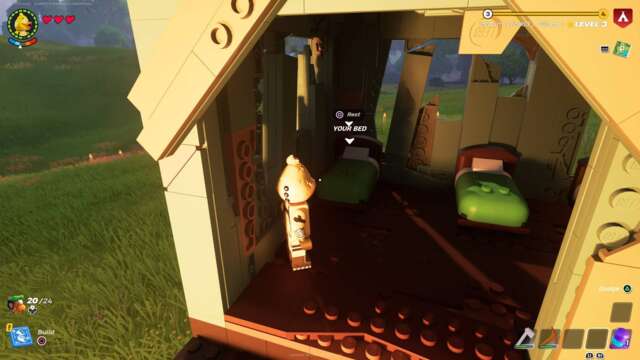
While you must build a bed for every villager who lives in your town, you don't actually need one for yourself for nearly any reason. For a player, a bed provides two benefits: it regenerates your health quickly, and sets your respawn point if you die (you don't need a bed to respawn, however). But you can also accomplish that same healing effect at any time by eating whatever food is in your inventory, and unlike in Minecraft, sleeping otherwise has no function or purpose. So don't sweat it.
You delete things by punching (or otherwise destroying) them
Usually in a crafting and building game like this one, editing, moving or deleting objects is a function of the interface, but not so in Lego Fortnite. Once you've crafted an item and set it on the ground, it's there for good--no editing or moving or deleting is possible through the UI. Instead, in proud Lego tradition, you can remove crafted objects by breaking them. Literally, you just punch the thing with your hand until it breaks (no need to use a tool; it's not faster and will wear down the tool). Once it does, you'll get a refund of the resources you spent to make it, and then you can build it wherever else you want.
Hold down the button to keep eating or harvesting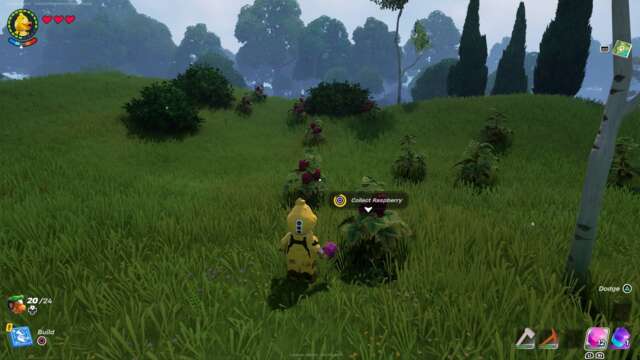
When I need food in Lego Fortnite, I usually eat berries since they're everywhere and I always have plenty. But they also don't do much for my hunger individually--I've gotta eat a bunch of them to fill up that hunger meter. Fortunately, you can just hold down the button to eat a berry (right trigger on controller) and your Lego hero will keep eating until they run out of food in that slot or you stop holding the button. This also works for harvesting--just hold the button as you walk around several berry bushes and you'll automatically pause to collect each one. It's a low-key but appreciated convenience.
Caves look like a big pile of rocks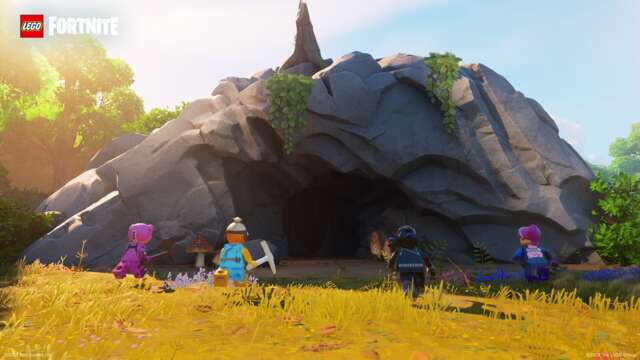
After you've got the basics down, the first big adventure you'll need to take is into a cave--literally any cave--where you can find the next tier of resources, like knotroot, that you'll need to craft more advanced equipment. And to find a cave, you'll need to find a large rock formation, one that's too big to break with your pickaxe. You can usually find a cave entrance on such piles, and there's no need to look for them elsewhere.
You don't have to use the building blueprints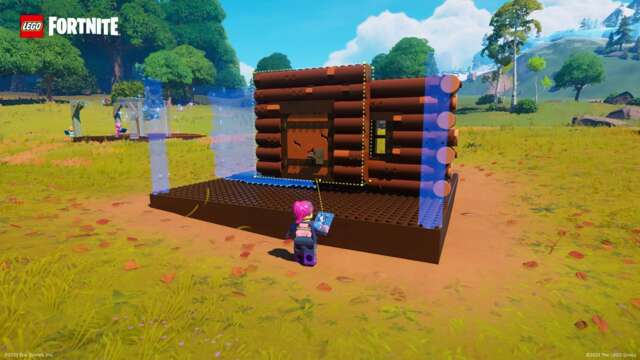
The tutorial will teach you how to assemble a structure from blueprints, but you don't actually need to use them once your village is at level 3, because that's when you unlock building parts that you can use freely to build things however you want to. So if you don't like the designs the game gives you, you don't have to use them. It'll obviously take some more effort to design buildings yourself, but that's the point, right?
Storage chests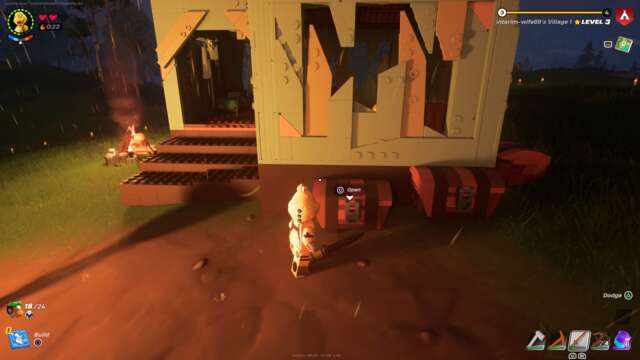
As soon as you're able to build storage chests, do what you have to do to build several of them. Those first chests are tiny and have a much smaller capacity than your own person bags, which is why you need several, and you'll just need to cook up six planks of wood--or your proverbial worker bee will cook them up for you--for each chest. And then fill them up with that stuff in your pockets so it doesn't hurt so much the next time you get one-shot by an ice wolf.
|