|

Final Fantasy 7 Rebirth allows you to summon powerful entities to aid you in battle. Some are available by default or preorders, while others need to be unlocked via the Combat Simulator. Still, there's one eccentric swordsman that you'll cross paths with, and you might just be able to make use of his capabilities. Here's our guide on how to get the Gilgamesh summon in Final Fantasy 7 Rebirth. Likewise, please be reminded that this article contains minor spoilers. How to get Gilgamesh in Final Fantasy 7 RebirthThe process to get the Final Fantasy 7 Rebirth Gilgamesh summon is quite a doozy: - Generally speaking, though, you need to obtain all Protorelics in every region. Whenever you complete a set, a cutscene will play that shows Cloud and this swordsman interacting. In regions that you visit later, there will also be combat encounters between the two.
- Take note that some Protorelic challenges tend to be straightforward. However, the Junon Protorelic and Cosmo Canyon Protorelic have their own minigames.
- The one that will certainly take you a while is the Corel Protorelic. That's because the remaining tasks can only be completed at the end of Chapter 12.
Once you've found all the Protorelics, a landmass will emerge from beneath Meridian Ocean. This is called Gilgamesh Island, and it's where the swordsman awaits.
Where to find Gilgamesh island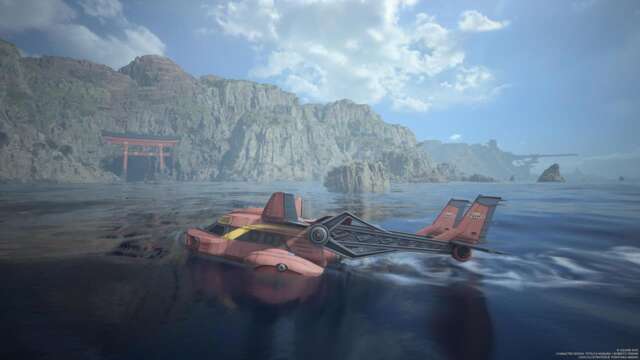
To reach Gilgamesh Island, you need to sail using the Tiny Bronco. The fastest way to get there is by following the coastline north of the Under Junon port. Note that you might even spot some Pirate King's Treasure markers along the way. Eventually, you'll see a large torii gate. Follow the winding cavern until you're able to dock, then head to the temple in the center to watch a cutscene.
Which dual summon battles should you tackle first
Gilgamesh isn't happy about how you handled the Protorelics, and he wants you to undertake the challenges on the island. There are four shrines here, though only three are accessible at the start. In each of these shrines, you have to face not one but two summoned entities, so get ready for some tough battles ahead. We've numbered these shrines accordingly based on the difficulty of the encounters:
First shrine: Titan and Bahamut Arisen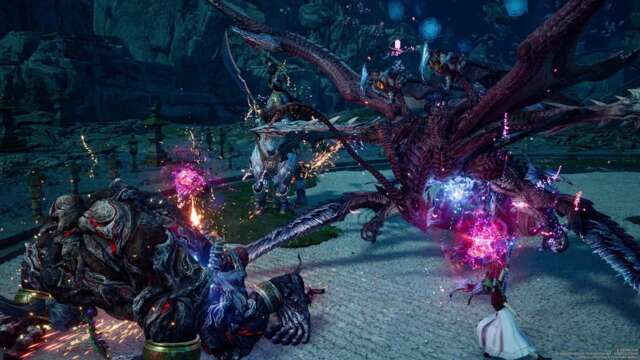
Both Titan and Bahamut hit hard, though the encounter itself is easier to manage compared to the others: - Titan is weak against wind elemental abilities and spells, making it easier to defeat.
- Bahamut Arisen doesn't have any elemental weakness, though you can pressure it by using Synergy Skills and Synergy Abilities.
Second shrine: Phoenix and Kujata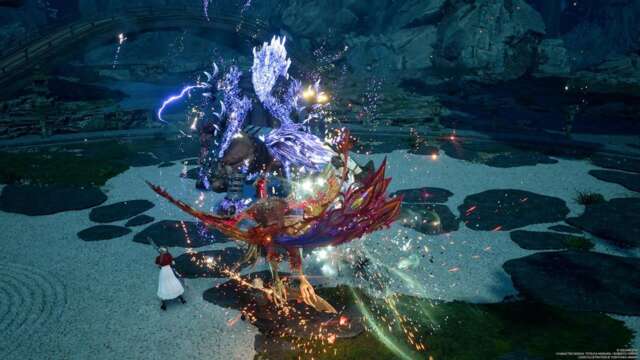
Your priority here is to take out Phoenix before Kujata, and there are a few things to watch out for: - Bring down Phoenix first and foremost because it will cast Rebirth Flame if Kujata is defeated. You certainly don't want it to keep reviving the other summon.
- Whenever Kujata swaps to another elemental essence, just use the one that it's weak against. This should, hopefully, prevent it from casting Tri-Disaster.
Third shrine: Alexander and Odin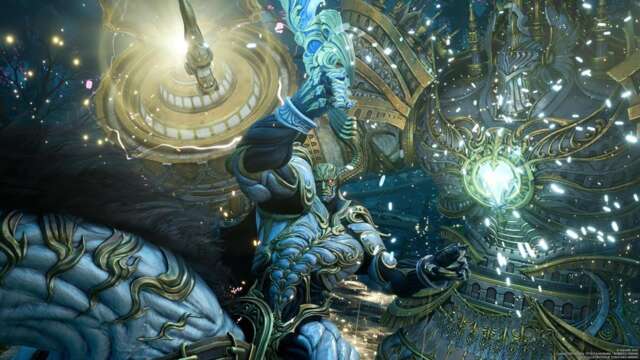
We felt that this was the toughest bout among all three: - Alexander is weak against lightning, though its body is immune to most forms of damage until you destroy both of its arms.
- You should do your best to avoid Odin's attacks, while also using ATB abilities to hit him. If he casts Gjallarhorn's Warning, make sure he doesn't land too many hits or he might use Zantetsuken.
- It's better to use your active character to evade Odin's attacks, while relying on menu commands to direct the remaining party members to weaken Alexander.
How to defeat Gilgamesh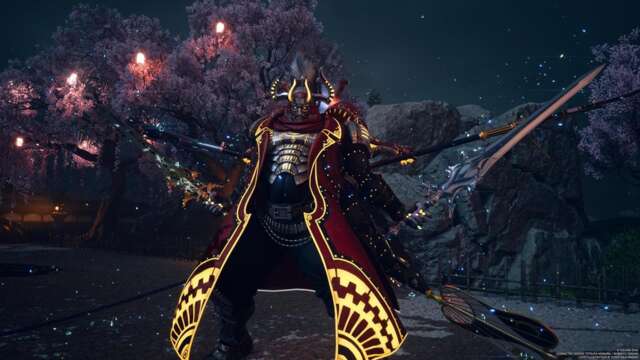
Once you've reacquired the Genji Protorelics from each shrine, you'll be able to enter the garden. That's where you'll have a chance to obtain the Final Fantasy 7 Rebirth Gilgamesh summon. All you have to do now is defeat him in battle. Gilgamesh is weak against fire, as well as most types of detrimental status effects (i.e. poison and debrave). However, he tends to summon additional weapons, such as the Muramasa, Banana Fan, Rune Axe, and Excalipoor (i.e. fake Excalibur). To pressure him, you need to do perfect blocks or enough damage. Doing so causes him to drop his extra weapons, making his abilities weaker. If ever he arms himself with the Genji Shield, be sure to destroy it as well. Note that the Excalipoor that Gilgamesh wields has him stumbling around whenever he attacks. However, don't let this fool you since his sword swipes have a chance to hit hard, likely killing a character outright. You should also watch out for the countdown that he does, as he may unleash his Swordsman Supreme ability to hit your entire team. Proper timing with your Limit Breaks and Synergy Skills (i.e. those that grant immunity frames during the animation) should help you survive longer, too.
Gilgamesh battle and Protorelic arc rewards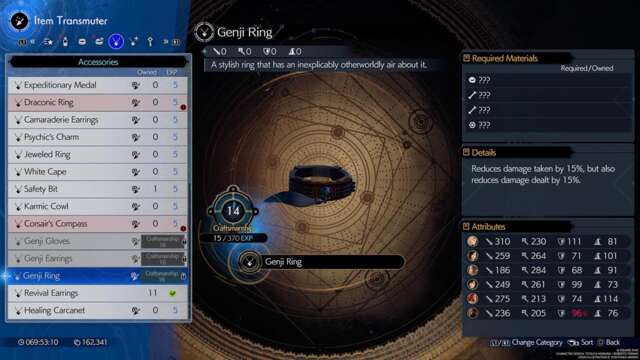
If you manage to defeat Gilgamesh, you can watch the cutscene that unfolds. Chadley will also grant you a few rewards: - Gilgamesh summon materia
- Additional Materia Development options: Swiftcast Materia, Reraise Materia, Spare Change Materia, and Limit Support Materia.
- Another cutscene where Chadley explains what he did with all the data you've collected, assuming you've completed all World Intel tasks.
- Brutal and Legendary battles in the Combat Simulator
- The following blueprints have been added to the Item Transmuter:
- Genji Gloves - Breaks the 9,999 damage limit (allows you to go above this threshold depending on the strength of your attack).
- Genji Earrings - Increases damage dealt by 15%, but also increases damage taken by 15%.
- Genji Ring - Reduces damage taken by 15%, but also reduces damage dealt by 15%.
Gilgamesh battle and Protorelic arc rewards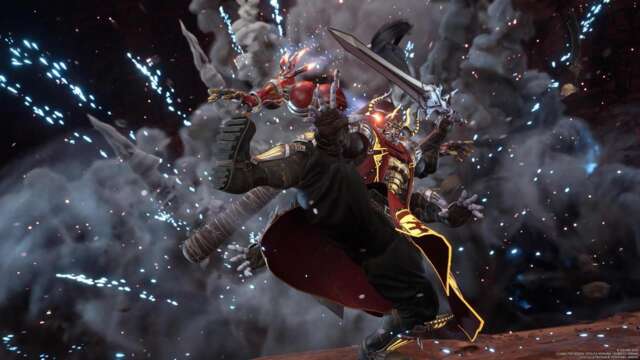
In any case, you should now be able to use the Final Fantasy 7 Rebirth Gilgamesh summon materia in battle. Here are its quirks: - Summon Cost: 2 ATB
- Ability #1: Spatial Rend - Brings down his axe to send a wide-range shockwave; increased damage on stagger; costs 2 ATB.
- Ability #2: Pinwheel - Charge toward an enemy while spinning his naginata.
- Ultimate: Ultimate Illusion - Spawn all his additional weapons and attack with each of them in turn; deals a massive amount of non-elemental damage.
This is how you get Gilgamesh in Final Fantasy 7 Rebirth. Although the whole process took a while, it's certainly an entertaining and worthwhile arc. A grand adventure awaits you in Final Fantasy 7 Rebirth. We've got all the tips and strategies for you in our FF7 Rebirth guides hub.
|